> memcached.exe -h memcached 1.4.4-14-g9c660c0 -p <num> TCP port number to listen on (default: 11211) -U <num> UDP port number to listen on (default: 11211, 0 is off) -s <file> UNIX socket path to listen on (disables network support) -a <mask> access mask for UNIX socket, in octal (default: 0700) -l <ip_addr> interface to listen on (default: INADDR_ANY, all addresses) -s <file> unix socket path to listen on (disables network support) -a <mask> access mask for unix socket, in octal (default 0700) -l <ip_addr> interface to listen on, default is INADDR_ANY -d start tell memcached to start -d restart tell running memcached to do a graceful restart -d stop|shutdown tell running memcached to shutdown -d install install memcached service -d uninstall uninstall memcached service -r maximize core file limit -u <username> assume identity of <username> (only when run as root) -m <num> max memory to use for items in megabytes (default: 64 MB) -M return error on memory exhausted (rather than removing items) -c <num> max simultaneous connections (default: 1024) -k lock down all paged memory. Note that there is a limit on how much memory you may lock. Trying to allocate more than that would fail, so be sure you set the limit correctly for the user you started the daemon with (not for -u <username> user; under sh this is done with 'ulimit -S -l NUM_KB'). -v verbose (print errors/warnings whilein event loop) -vv very verbose (also print client commands/reponses) -vvv extremely verbose (also print internal state transitions) -h print this help and exit -i print memcached and libevent license -P <file> save PID in <file>, only used with -d option -f <factor> chunk size growth factor (default: 1.25) -n <bytes> minimum space allocated for key+value+flags (default: 48) -L Try to use large memory pages (if available). Increasing the memory page size could reduce the number of TLB misses and improve the performance. In order to get large pages from the OS, memcached will allocate the total item-cache in one large chunk. -D <char> Use <char> as the delimiter between key prefixes and IDs. This is used for per-prefix stats reporting. The default is ":" (colon). If this option is specified, stats collection is turned on automatically; if not, then it may be turned on by sending the "stats detail on"command to the server. -t <num> number of threads to use (default: 4) -R Maximum number of requests per event, limits the number of requests process for a given connection to prevent starvation (default: 20) -C Disable use of CAS -b Set the backlog queue limit (default: 1024) -B Binding protocol - one of ascii, binary, or auto (default) -I Override the size of each slab page. Adjusts max item size (default: 1mb, min: 1k, max: 128m)
STAT get_hits 3096 STAT get_misses 1269 STAT delete_misses 0 STAT delete_hits 4 STAT incr_misses 0 STAT incr_hits 0 STAT decr_misses 0 STAT decr_hits 0 STAT cas_misses 0 STAT cas_hits 0 STAT cas_badval 0 STAT auth_cmds 0 STAT auth_errors 0 STAT bytes_read 364075 STAT bytes_written 824270 STAT limit_maxbytes 67108864 STAT accepting_conns 1 STAT listen_disabled_num 0 STAT threads 4 STAT conn_yields 0 STAT bytes 71129 STAT curr_items 189 STAT total_items 1054 STAT evictions 0 END
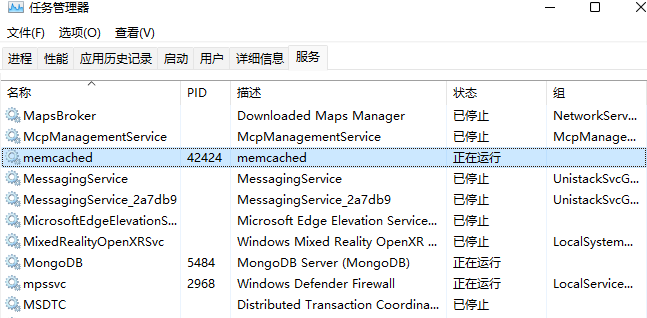
这样就是跑起来了。
当然也可以到 windows 的服务面板里查看 memcached 服务是否运行,或者在任务管理器面板里查看服务标签。